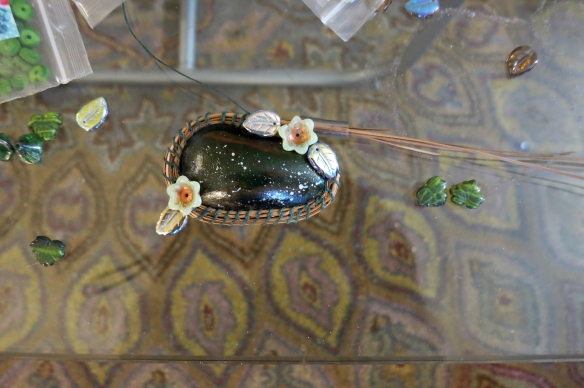
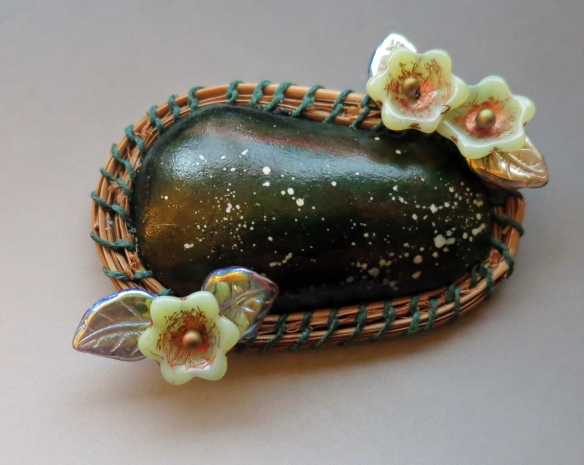
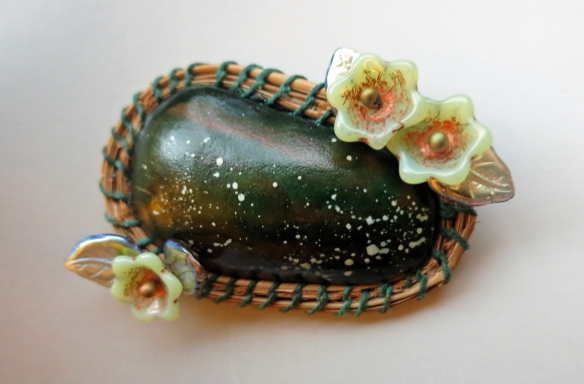
This month’s challenge, hosted by Art Elements, is “To gnome me is to love me…” A gnome challenge is just what I needed! I made a ceramic gnome for my daughter last Christmas, but then just before I was ready to fire it, I broke it’s hat off! So I promised my daughter I’d make a replacement, but I’d never gotten around to doing it – until now! I glued the hat back on the broken gnome so you could get an idea of how it was supposed to look.
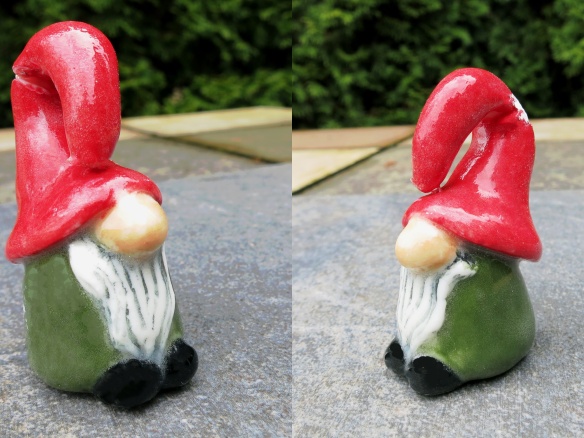
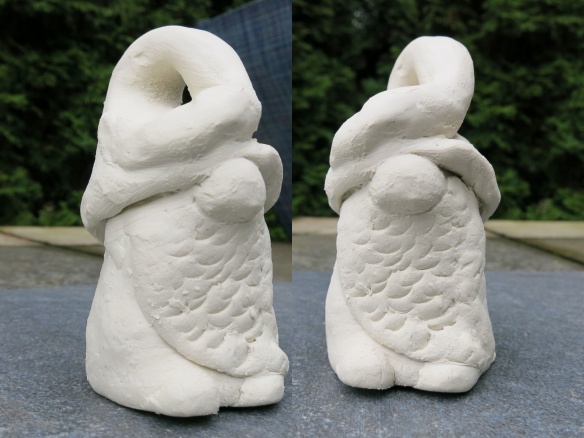
After I joined the Art Elements challenge, I made 3 new gnomes. However, I glaze and fire my ceramics at a community ceramics studio, which is closed now, due to Covid 19. So I’ll have to show the gnomes as just greenware (unfired clay). The other issue I had was that, other than a fettling knife, (a special knife for use in ceramics), all my tools were at my community studio. So these little guys are literally made by hand – only my hands, without any tools. They are a little rough, but I can clean them up once I can get back into the studio, before I kiln fire them.
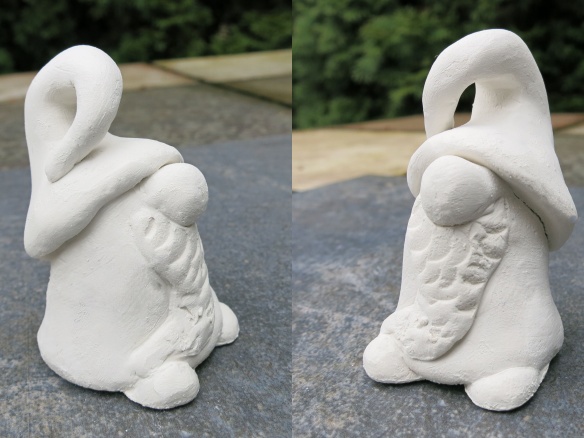
Two views of new gnome 1
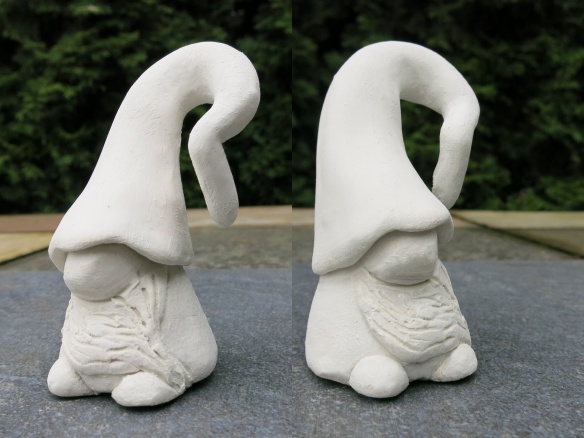
Two views of new gnome 2
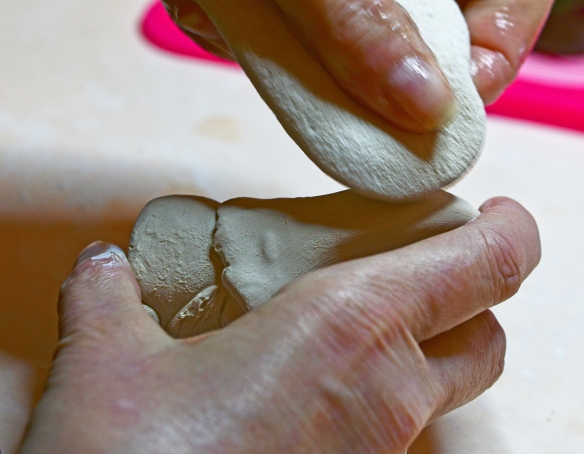
And below is a photo of me smoothing the surface of the second gnome.
These first two gnomes were made about a week ago and have been drying ever since. Then last night I made a third, larger gnome. Here he is in the beginning stages. He has a body and a nose, but nothing else, at that point.
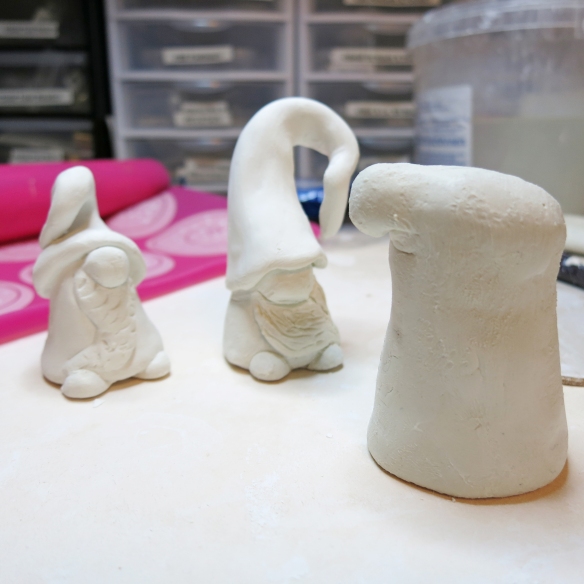
And here he is sort of complete. He needs to dry more and then get the details refined and the surface smoothed.
Two views of new gnome 3
Thank you for visiting my blog and viewing my unfinished gnomes. Can’t wait to get some tools, glaze and fire them. Thanks also to Jenny Daves-Reazor and Art Elements for hosting this challenge.
This is a blog hop. Please visit the artists below to see their interpretations of the gnome challenge.


 Next I dug into my owl stash to create this bracelet. Unfortunately I no longer remember who made the little owl bead. If you recognize the artist, will you please let me know in the comments? I always like to give credit to the art bead makers. I love how all the beads came together for this bracelet. I enjoy looking at each one and marveling at the creativity that makes each bead so unique. In addition to the owl, there are ceramic beads by my friend
 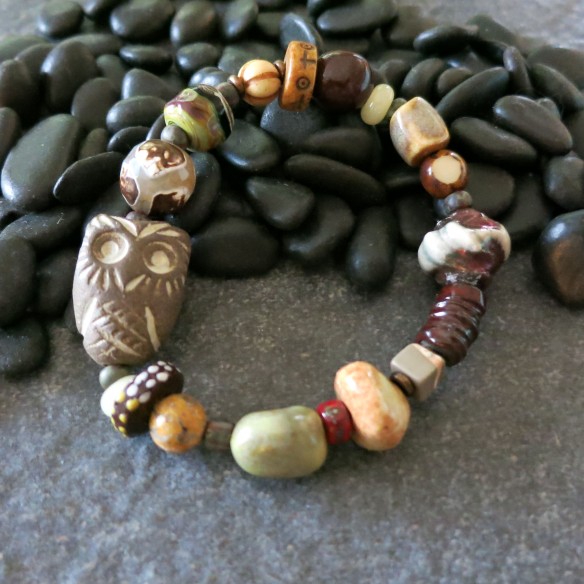 After completing the Little Hoot, I made a second stretch bracelet, featuring an adorable owl dangle by
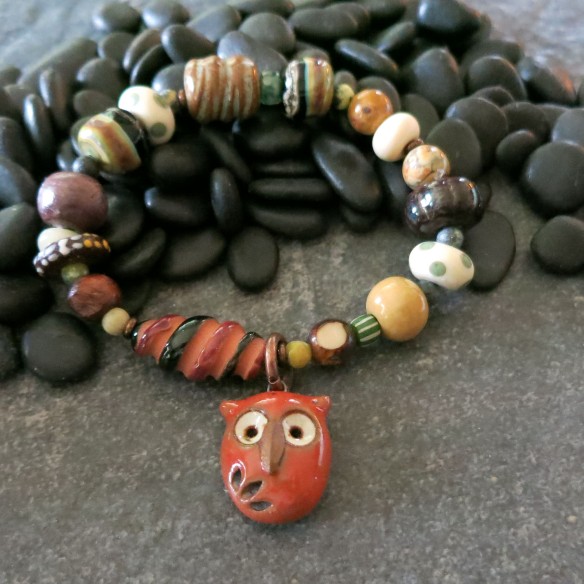
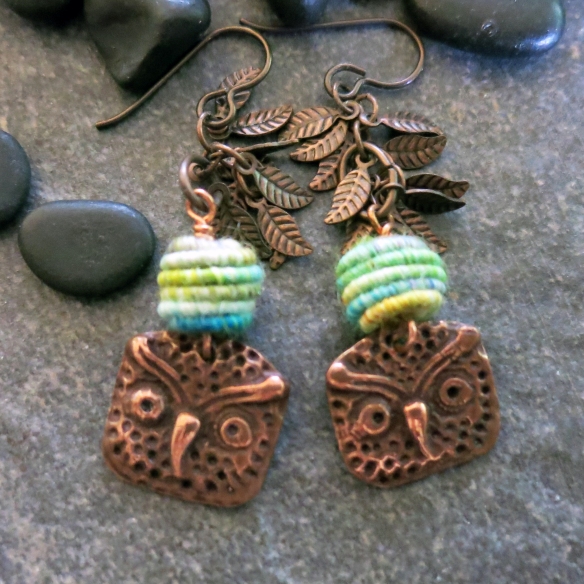


 Linda Landig Jewelry


 Mari Carmen lives in Spain and I speak a little very basic Spanish. Whenever she comments on
  I just want to thank Janice for all the work she puts into